DIY Candle-Making at Home: Custom Scents & Molds for Wellness
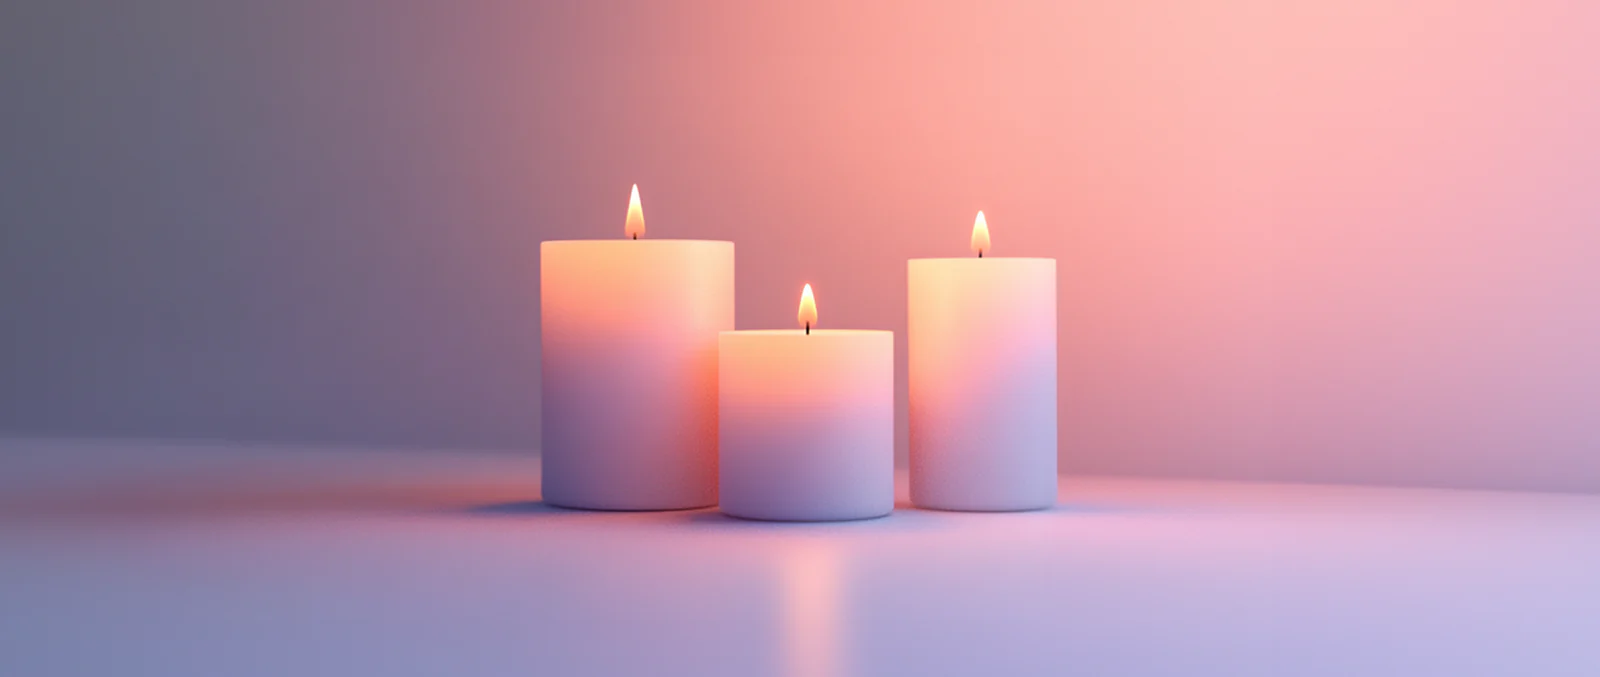
In recent years, self-care has expanded beyond bubble baths and spa days. More people are now turning to hands-on hobbies to relieve stress—and candle-making is quickly becoming a favorite. Not only does it provide a calming creative outlet, but it also gives you a way to fill your space with comforting, customized aromas.
From soothing lavender to invigorating citrus, you can tailor your scents to match your mood or wellness goals. Better yet, you don’t need a fancy workshop to get started—just a few tools, simple ingredients, and a bit of time.
Why Make Candles at Home?
To begin with, making candles is surprisingly easy and inexpensive. Unlike store-bought options, homemade candles give you full control over what goes into them. That means no hidden chemicals or overpowering synthetic fragrances.
In addition, the act of crafting itself is relaxing. Melting wax, choosing molds, and blending scents become a meditative ritual. It’s tactile, aromatic, and deeply satisfying.
Plus, custom candles make thoughtful gifts. Whether you’re creating a calming sleep blend for a friend or designing themed candles for an event, they add a personal touch that’s hard to beat.
Choose Your Wax: Know Your Base
Before you pour your first candle, you’ll need to choose your wax. Each type has its properties and benefits.
Soy wax: Plant-based, clean-burning, and popular among eco-conscious crafters.
Beeswax: Natural with a subtle honey scent. Great for people sensitive to synthetic smells.
Paraffin wax: Common and inexpensive, but less sustainable and may emit more soot.
Coconut wax: Soft and creamy, ideal for container candles with a rich scent throw.
For most beginners, soy wax is a great starting point. It’s easy to work with, holds fragrance well, and burns evenly.
Picking the Right Wick
Next, consider your wick. The wick size affects how your candle burns. Too small, and the flame will tunnel. Too large, and it may flicker or smoke.
As a rule of thumb:
Small jars (2–3 inches): Use a thin cotton wick
Medium jars (3–4 inches): Use a medium wood or cotton wick
Wide containers (4+ inches): Try two wicks or an extra-wide one
Wood wicks are especially trendy in 2025, creating a soft crackling sound that enhances the sensory experience.
Scent Blending for Mood and Wellness
Now comes the fun part—scent. Essential oils and fragrance oils both work, but essential oils are more commonly used for wellness benefits.
Here are a few ideas to get you started:
Relaxation: Lavender, chamomile, sandalwood
Focus: Peppermint, rosemary, lemon
Uplifting mood: Orange, bergamot, ylang-ylang
Grounding: Cedarwood, patchouli, clove
Start small. About 6–10 drops of essential oil per ounce of wax is a good ratio, but you can adjust it to suit your preference. Blend two or three oils to create a custom scent that reflects your intention.
Creative Candle Molds and Containers
Forget basic jars. In 2025, mold-based candles are everywhere—from bubble cubes and seashells to arch shapes and flowers. Silicone molds are affordable, reusable, and easy to work with.
Other fun options:
Vintage teacups
Small plant pots
Coconut shells
Tin cans
Glass yogurt jars
Just make sure your container is heat-resistant and watertight. If you're repurposing something, test it first to avoid cracks or leaks.
Step-by-Step: How to Make a Candle at Home
Ready to create your own? Here’s a simple process:
1. Prep your space.
Cover surfaces with newspaper or parchment. Gather all materials before you begin.
2. Measure and melt your wax.
Use a double boiler or microwave-safe container. Melt slowly, stirring until smooth.
3. Attach the wick.
Stick the wick to the center of your mold or container using a glue dot or a dab of hot wax. Use a pencil or chopstick to hold it upright.
4. Add your scent.
Once the wax cools slightly (around 130–140°F), stir in your essential oils.
5. Pour the wax.
Slowly fill your mold or container. Leave about ½ inch at the top.
6. Let it set.
Cool your candle for at least 2–4 hours. For larger candles, allow overnight curing.
7. Trim the wick.
Snip to about ¼ inch before lighting. Long wicks can cause uneven burning or excess smoke.
That’s it—you’ve made a candle!
Decorating and Labeling Your Candles
Want to take your candles up a notch? Customize the final look with:
Pressed flowers or herbs embedded in the wax surface
Handwritten tags describing the scent or intention
Recycled fabric wraps tied with twine or ribbon
Natural dye for soft pastel hues
Not only do these touches make your candles gift-ready, but they also add charm to your own space.
Troubleshooting Common Candle Issues
Even with careful steps, small issues may arise. Here’s how to fix them:
Sinkholes in the center? Use a heat gun to remelt the top layer and refill.
Flickering flame? Your wick may be too long or off-center.
Weak scent? Try adding oils at a lower temperature or using more fragrance next time.
Tunneling? Use a larger wick or allow a full melt pool on the first burn.
Remember: every mistake is part of the learning process. Each batch brings you closer to candle-making mastery.
Make It a Ritual
For many, candle-making becomes more than a craft—it turns into a wellness ritual. Whether you light your candles during meditation, baths, or bedtime routines, they offer a sense of calm and comfort.
Over time, you might even create themed collections: a morning energizer blend, a focus-friendly work candle, or a nighttime wind-down scent.
The possibilities are endless—and entirely your own.
Final Thoughts: Light With Intention
In a world that often moves too fast, slowing down to make something by hand can be incredibly grounding. Candle-making is simple, sensory, and deeply satisfying. And when the lights dim and your handmade candle flickers to life, you’ll know it was worth every stir, pour, and scent blend.
So go ahead—melt, pour, and light your way to a calmer, more creative home.